Many witches, wiccans, pagans and practitioners of magick celebrate the seasons through crafting. It’s a personal way to weave positive intention through your life, and when using natural materials, it’s a beautiful and bountiful way to connect with nature.
Whether you’re a seasoned witch or just starting out on your magical journey, incorporating witchy crafts into your summer rituals can be a fun and creative way to honour the summer.
From creating moon wreaths to crafting spell jars, there are countless ways to infuse your practice with the magic of these balmy days and fruitful times.
In this article, we’ll explore 10 of the best witchy crafts for summer, each offering a unique way to tap into the power of the season and enhance your own practice of the craft. Links are included to make it easier for you to source materials – these are affiliate, meaning we gain a small commission when you click through, at no extra cost to you.
So grab your cauldron, get that book of spells ready, and let’s begin…
1. Moon Wreath
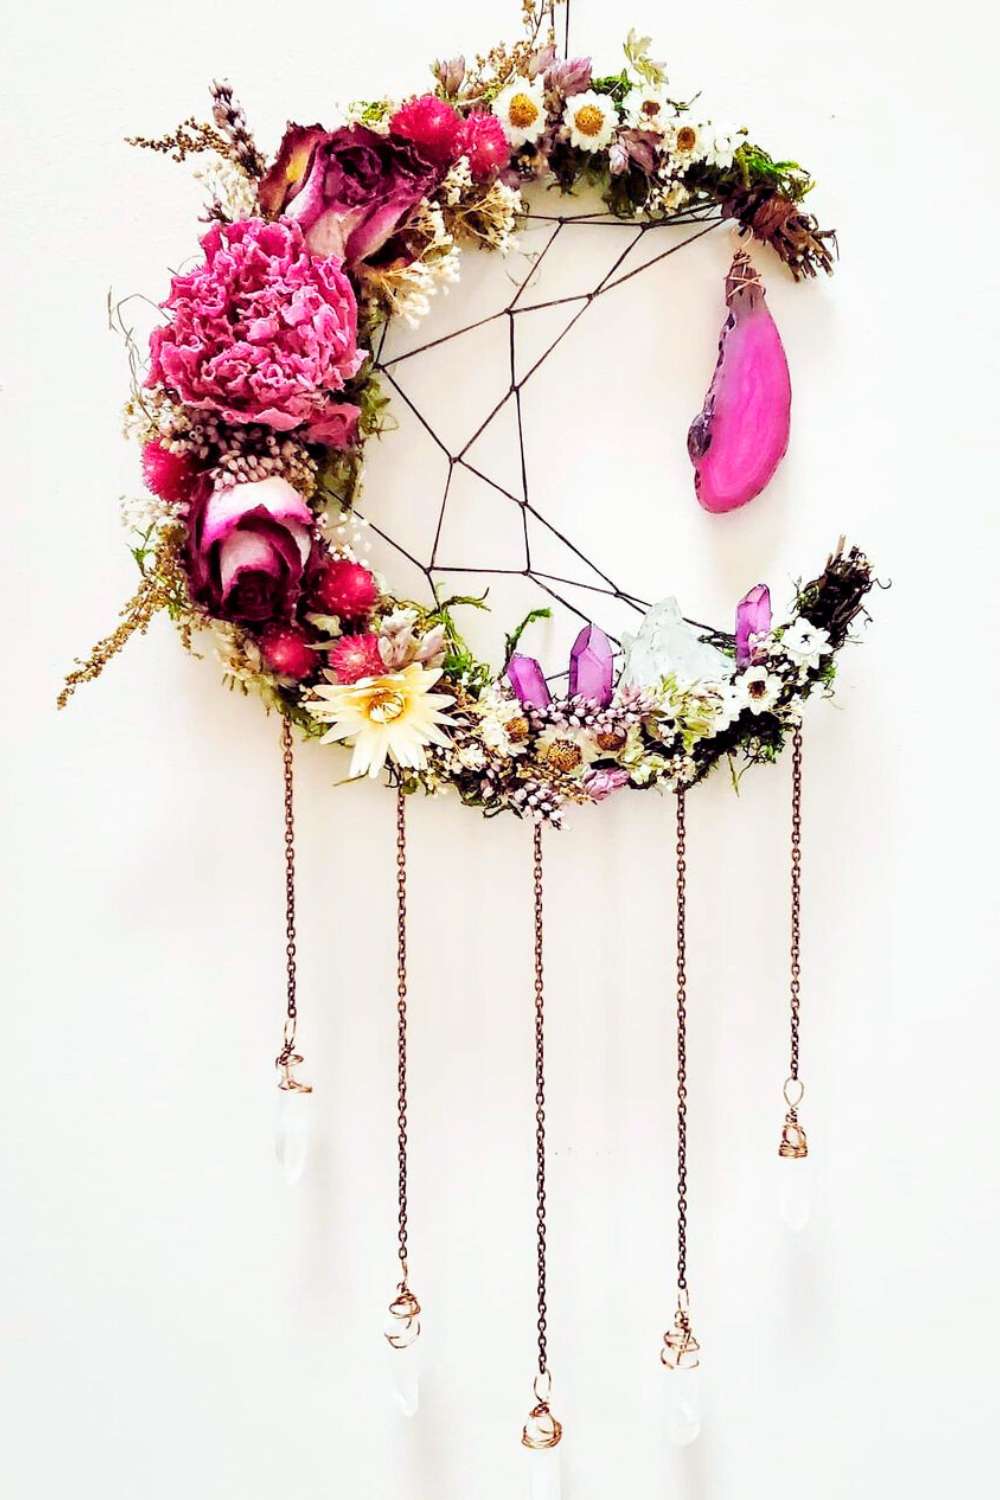
Moon wreaths are a beautiful and magical way to celebrate the phases of the moon and bring a little cooling lunar energy into your home during peak summer.
These enchanting decorations can be made using a variety of materials, such as dried flowers, herbs, ribbons, and crystals, and you can customize them to reflect your own style, taste, and intentions
Here’s how to create your own moon wreath:
1. Gather your materials: You will need:
- a plain wreath base (such as a rattan crescent moon or a metal frame)
- dried flowers and herbs
- ribbons
- crystals
- any other decorative elements you’d like to include, such as:
- Celestial sun, moon and star charms
- Silver moon charms (these have a stunning, ornate design)
- smaller moon charms
- Natural raw citrine pendants
- Pentacle charms for protection
- Leaf and feather charms
- floral wire
- Hot melt glue gun (optional) – this is one of the best
2. Choose a theme: Decide if you want your wreath to represent a specific phase of the moon, such as the crescent or the new moon, (or a particular full moon, like the strawberry moon, or the flower moon) and select materials corresponding to that theme.
3. Arrange your materials: Begin by attaching the dried flowers, herbs, and other elements to the wreath base, using floral wire or hot glue to secure them in place.
4. Add embellishments: Once the main elements are in place, add ribbons, crystals, and any other decorative touches to enhance the energy of the wreath.
5. Hang and enjoy: Once your moon wreath is complete, hang it in a prominent place in your home or on your altar to honor the energy of the moon and bring a touch of magic to your space.
Check out the wreath below by @themoonandthegoddess
2. Spell Jar
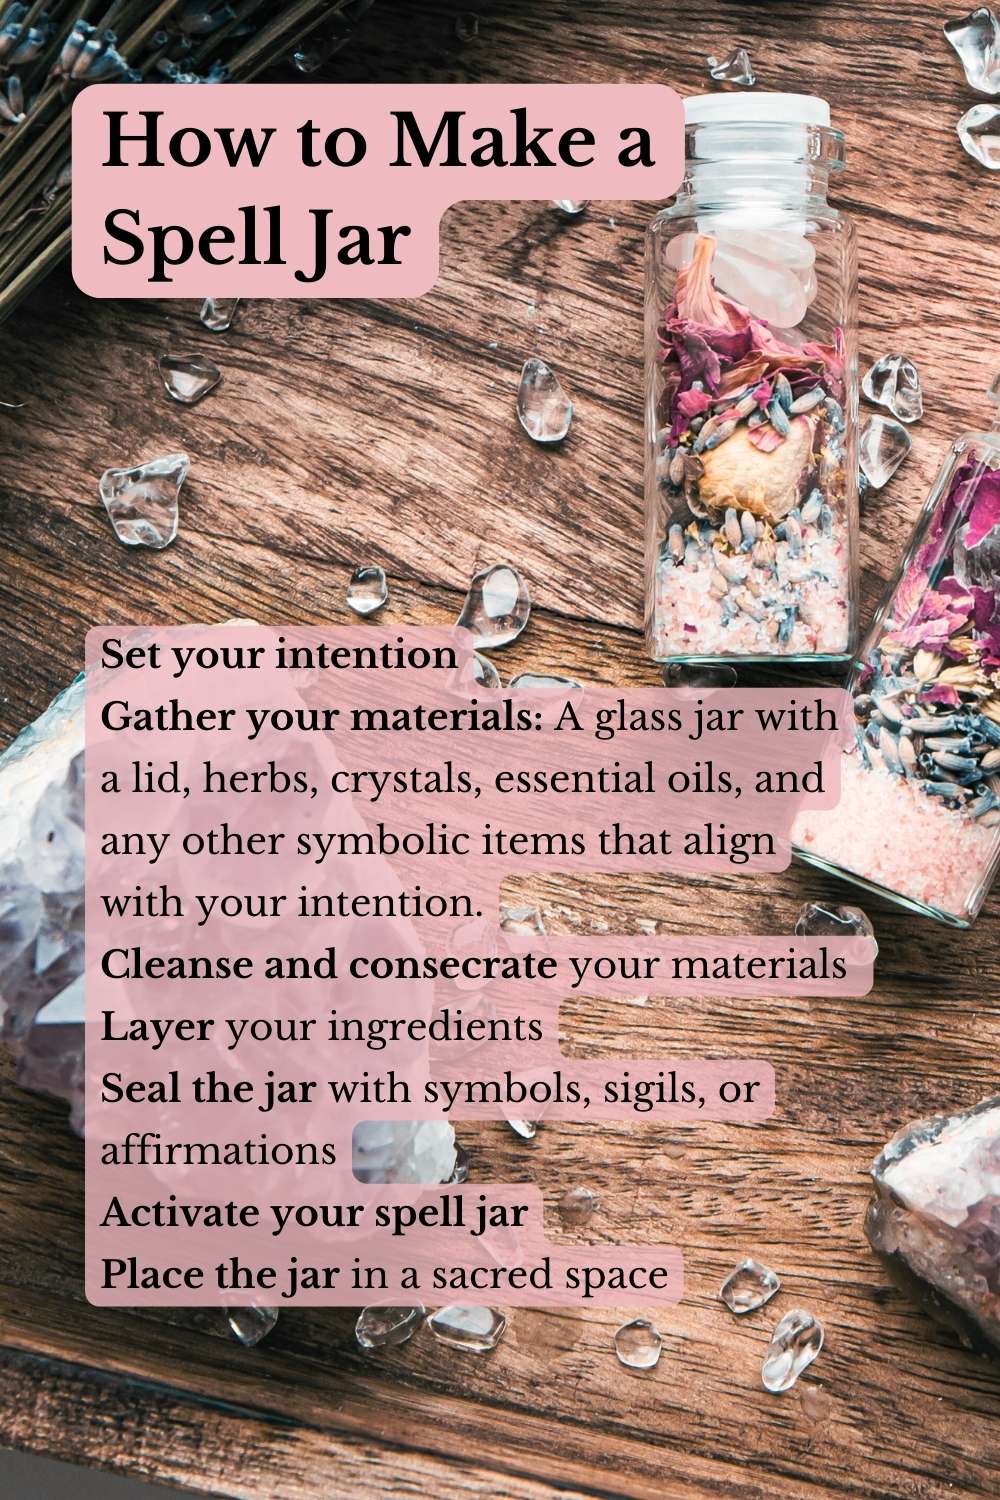
Spell jars are a popular and versatile craft in the witchy community, often used to manifest intentions, protect spaces, or bring positive energy into one’s life. These magical vessels can be customized with various herbs, crystals, and other symbolic items to create a powerful tool for spellwork and manifestation.
To create your own spell jar, follow these simple steps:
1. Set your intention: Decide on the purpose of your spell jar, whether it’s for protection, love, abundance, or any other specific intention.
2. Gather your materials: You will need a glass jar with a lid, herbs, crystals, essential oils, and any other symbolic items that align with your intention (full list below)
3. Cleanse and consecrate your materials: Before assembling your spell jar, cleanse and charge your materials to remove any negative energy and infuse them with your intention.
4. Layer your ingredients: Begin by adding your chosen herbs, crystals, and other symbolic items to the jar, layering them with intention and purpose. You can also add a few drops of essential oil for an extra boost of energy.
5. Seal the jar: Once your ingredients are in place, seal the jar with melted wax and decorate it with symbols, sigils, or affirmations that reinforce your intention.
6. Activate your spell jar: Hold the jar in your hands, focus on your intention, and visualize the manifestation of your desires. You can also speak your intention aloud or perform a simple ritual to activate the spell jar.
7. Place the jar in a sacred space: Keep your spell jar in a prominent place, such as your altar or a special area in your home, to harness its magical energy and amplify your intentions.
Need supplies? Try:
- 30ml glass jars
- Tiny 10ml glass spell jars
- 20ml spell jars
- Cinnamon sticks for speed and success
- Bay leaves or oil to summon Jupiter, and seal financial intentions with power (shop bay laurel leaf oil here)
- Peppermint to invigorate
- Cloves to lock in prosperity and protection (shop clove essential oil here)
- Star anise – brings luck, and protects new ventures
- Nutmeg
- Dried chamomile flowers to soothe
- Gold leaf flakes or gold-coloured items for divine prosperity
- Green aventurine – a magnet for wealth and opportunity
- Pyrite – the stone of ambition and abundance
- Citrine chips to radiate prosperity and personal power
- Jade – an ancient stone of luck and financial wisdom
- Tiger’s eye to sharpen instincts and bring courage
- Tiny rose quartz hearts
- Sun-dried rose petals and buds
- Anima Mundi rose petal power (Soooo beautiful and potent to use in spells, including tea and rose milk!)
- Organic lavender essential oil
- Dried French lavender flowers
- Pink Himalayan salts (also add these to your ritual bath for a total detox!)
- Organic cinnamon essential oil
- Gya Labs organic roman chamomile essential oil (I LOVE this brand)
- A parchment with financial affirmations or sigils
- Wildflower honey to attract sweetness
- Sea salt for protection
- Wax sealing kit with 24 colours ( this is perfect – use a couple of wax pellets melted in a spoon, per jar).
- Set of 20 spell candles (assorted colours)
3. Besom Broom
Creating a besom broom, also known as a witch’s broom, is a traditional and symbolic craft in witchcraft. Besom brooms are not only used for physical cleaning but are also associated with ritual and spiritual practices, making them a powerful tool for cleansing and purifying spaces.
To make your own besom broom, follow these simple steps:
1. Gather your materials: You will need a wooden stick or dowel for the broom handle, natural bristles (such as straw or twigs), a strong twine or wire, and a pair of scissors.
2. Prepare the bristles: Gather a bundle of bristles and trim them to a uniform length, ensuring they are all roughly the same size.
3. Attach the bristles to the handle with intention: Secure the bristles to the handle by tightly binding them with twine or wire. Start at the top of the handle and work your way down, wrapping the binding material around the bristles to hold them in place. Set intentions by speaking them aloud as you wrap and fix the bristles.
4. Trim and shape: Once the bristles are secured, trim any uneven or excess bristles to create a neat and uniform appearance. You can also shape the bristles into a rounded or angled shape, depending on your preference.
5. Cleanse and consecrate the besom: Before using your besom broom, cleanse it with smoke from sacred herbs, such as sage or cedar, and consecrate it with your intention for purification and protection.
6. Use your besom in ritual and spellwork: Once your besom broom is ready, you can use it to sweep and cleanse your ritual space, as well as to symbolically sweep away negative energy and invoke positive energies. Display your besom in a place of honour when not in use to enhance the protective and purifying energies in your home.
Also read: 10 Incredible Ritual Bath Recipes
4. Runes
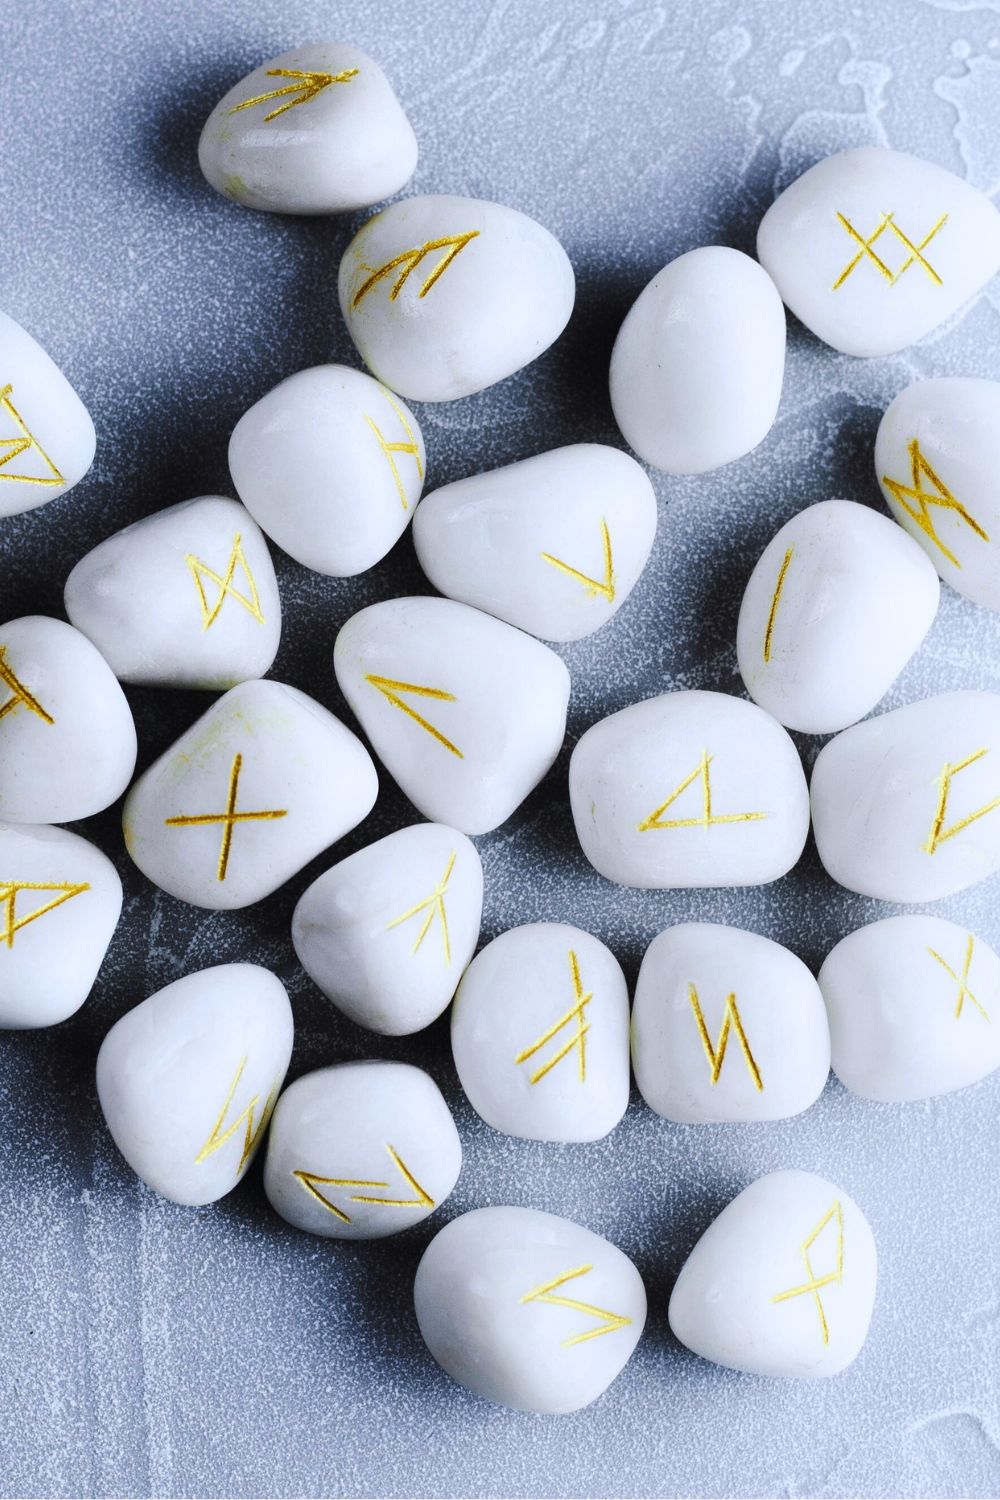
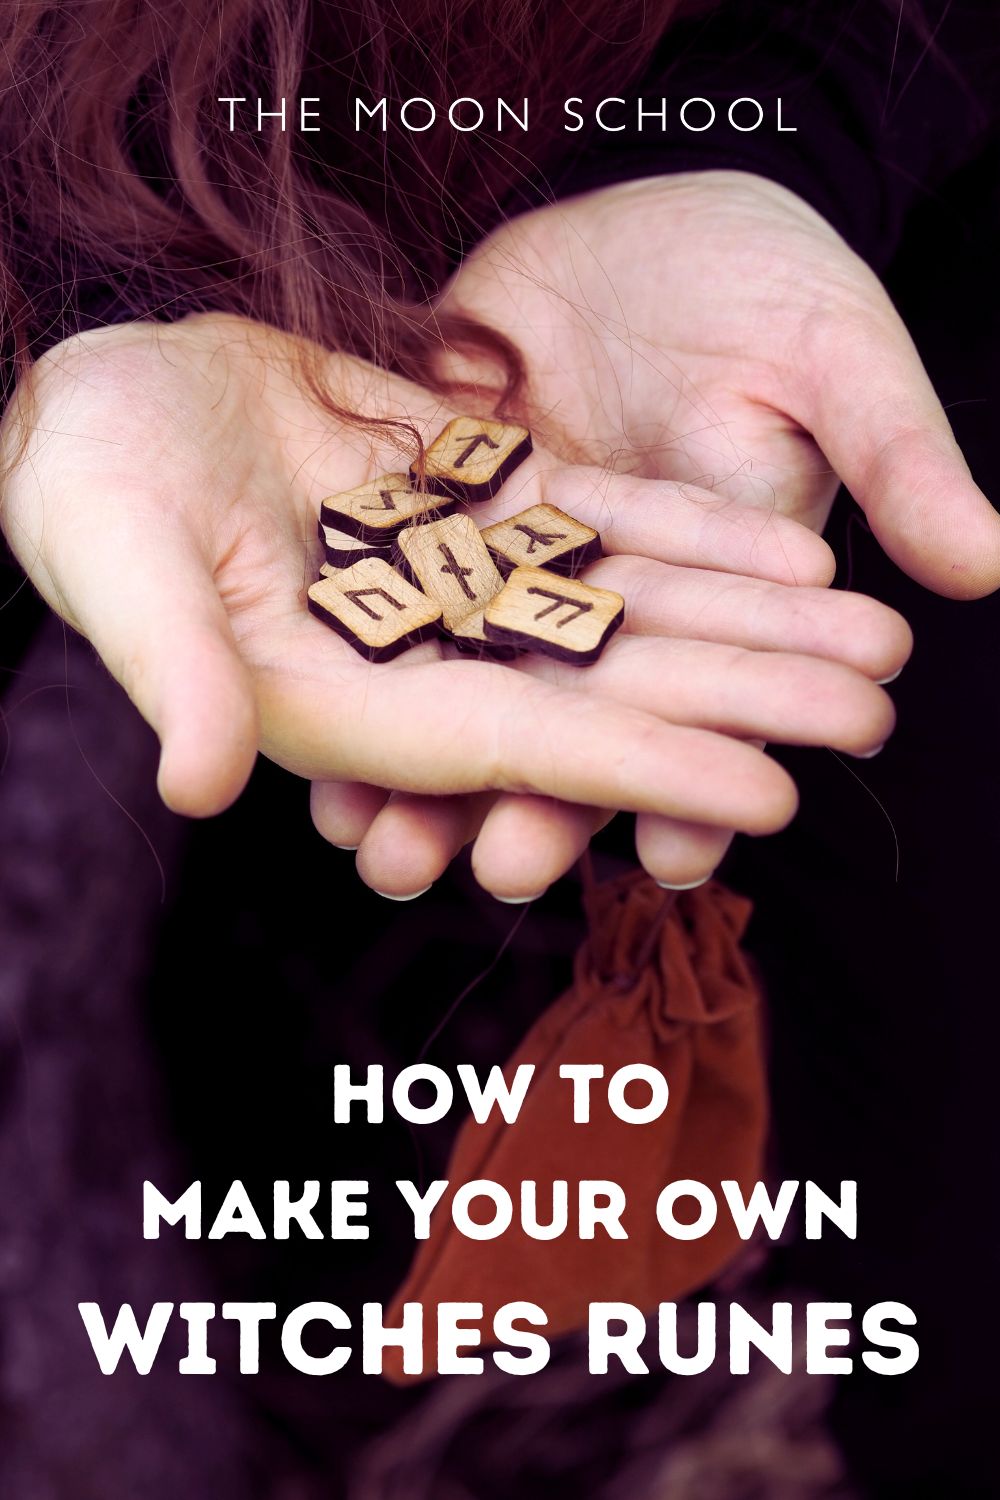
Creating and using runes is a traditional and sacred craft in many northern magical traditions. Runes are ancient symbols that hold powerful meanings and can be used for divination, spellwork, and manifestation. Making your own set of runes can be a deeply personal and meaningful experience, allowing you to infuse each symbol with your intentions and energy.
To create your own set of runes, follow these steps:
1. Select your materials: Choose a set of small, smooth stones, wood slices, or clay discs to serve as the base for your runes. You will also need a permanent marker or paint to inscribe the runic symbols.
2. Research the runic symbols: Familiarize yourself with the meanings and associations of each runic symbol. You can find numerous resources and books on runic divination and symbolism to guide you in selecting the appropriate symbols for your set. This book by Lara Veleda Vesta is incredible.
3. Inscribe the symbols: Using a permanent marker, paint, or an engraving tool carefully inscribe each runic symbol onto the chosen surface. You can also add decorative elements or colour as your intuition guides you.
4. Cleanse and consecrate the runes: Once the symbols are inscribed, cleanse the runes with smoke from sacred herbs and consecrate them with your intention for divination, guidance, or protection.
5. Use the runes for divination and spellwork: Once your runes are ready, you can use them for divination by casting or drawing individual runes to receive guidance or insight. You can also incorporate the runes into your spellwork and rituals.
Keep your runes in a special pouch or container when not in use to protect and preserve their energy.
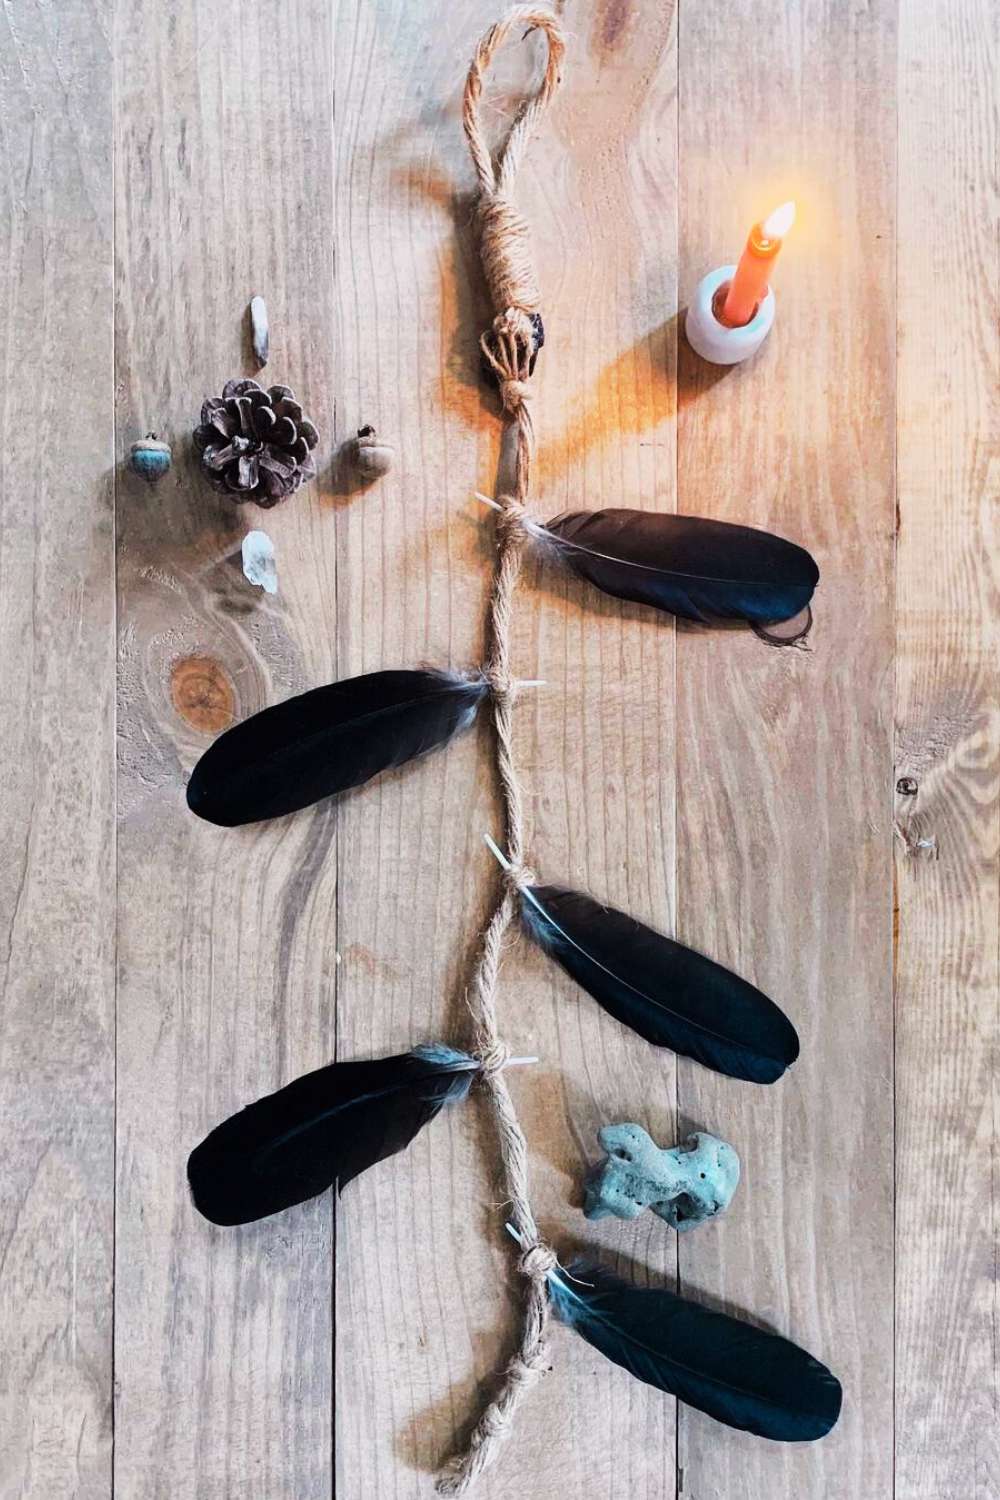
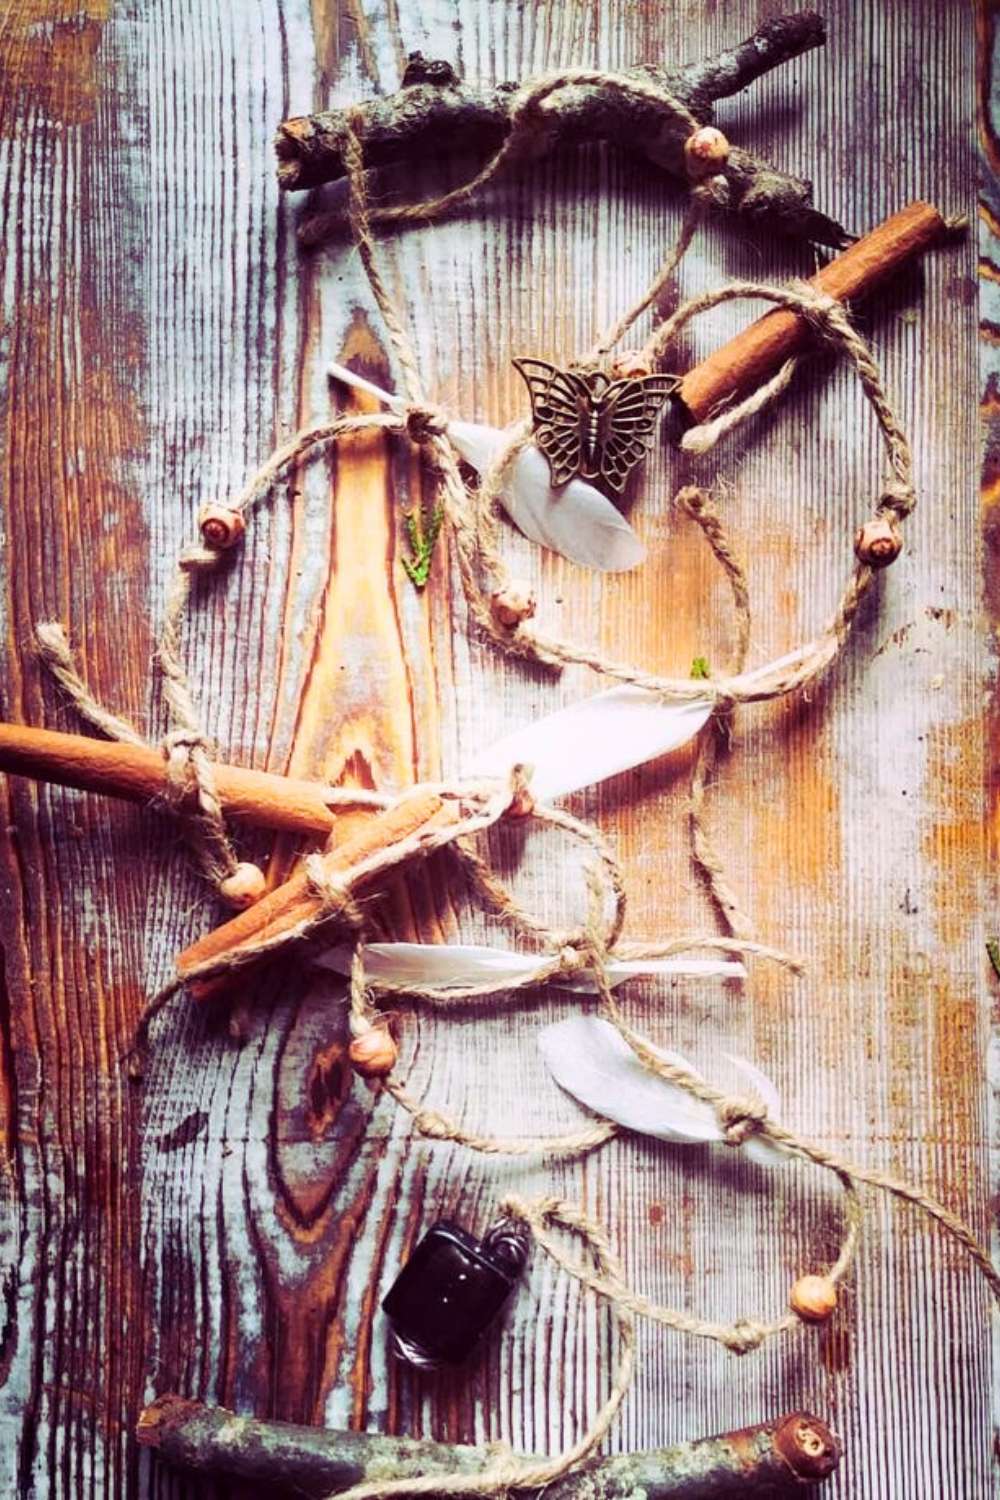
5. Witches Ladder
The witch’s ladder is a type of charm or talisman made from a length of cord or rope, with various objects or knots woven into it, to represent intentions or desires. It’s a powerful and ancient craft, often used for spellwork, protection, and manifestation.
Here’s how to craft your own witch’s ladder:
1. Choose your materials: Select a length of cord or rope in a colour that corresponds to your intention or purpose. You will also need small objects, such as feathers, beads, charms, or knots, to weave into the ladder.
2. Set your intention: Decide on the purpose of your witch’s ladder, whether it’s for protection, prosperity, love, or any other specific intention.
3. Begin weaving the ladder: As you weave the cord, chant or visualize your intention, and begin to incorporate the objects or knots into the weave. You can also speak affirmations or blessings as you work.
4. Add the objects: As you weave, tie or attach the chosen objects or knots at regular intervals along the length of the cord. Each object should represent an aspect of your intention or desire.
5. Seal the ladder: Once the objects are woven into the cord, tie off the ends and secure them with a knot, sealing in the energy and intention.
6. Charge the ladder: Hold the completed witch’s ladder in your hands, focus on your intention, and visualize the manifestation of your desires. You can also perform a simple ritual to charge the ladder with your energy and intention.
7. Display or use the witch’s ladder: Hang your witch’s ladder in a prominent place, such as your altar or a special area in your home, to harness its magical energy and amplify your intentions.
Alternatively, you can carry it with you or place it in a specific area to attract the desired energies into your life.
📷 below: @gritchenwitch
📷 right: White Angel Feather Witch Ladder, Etsy.
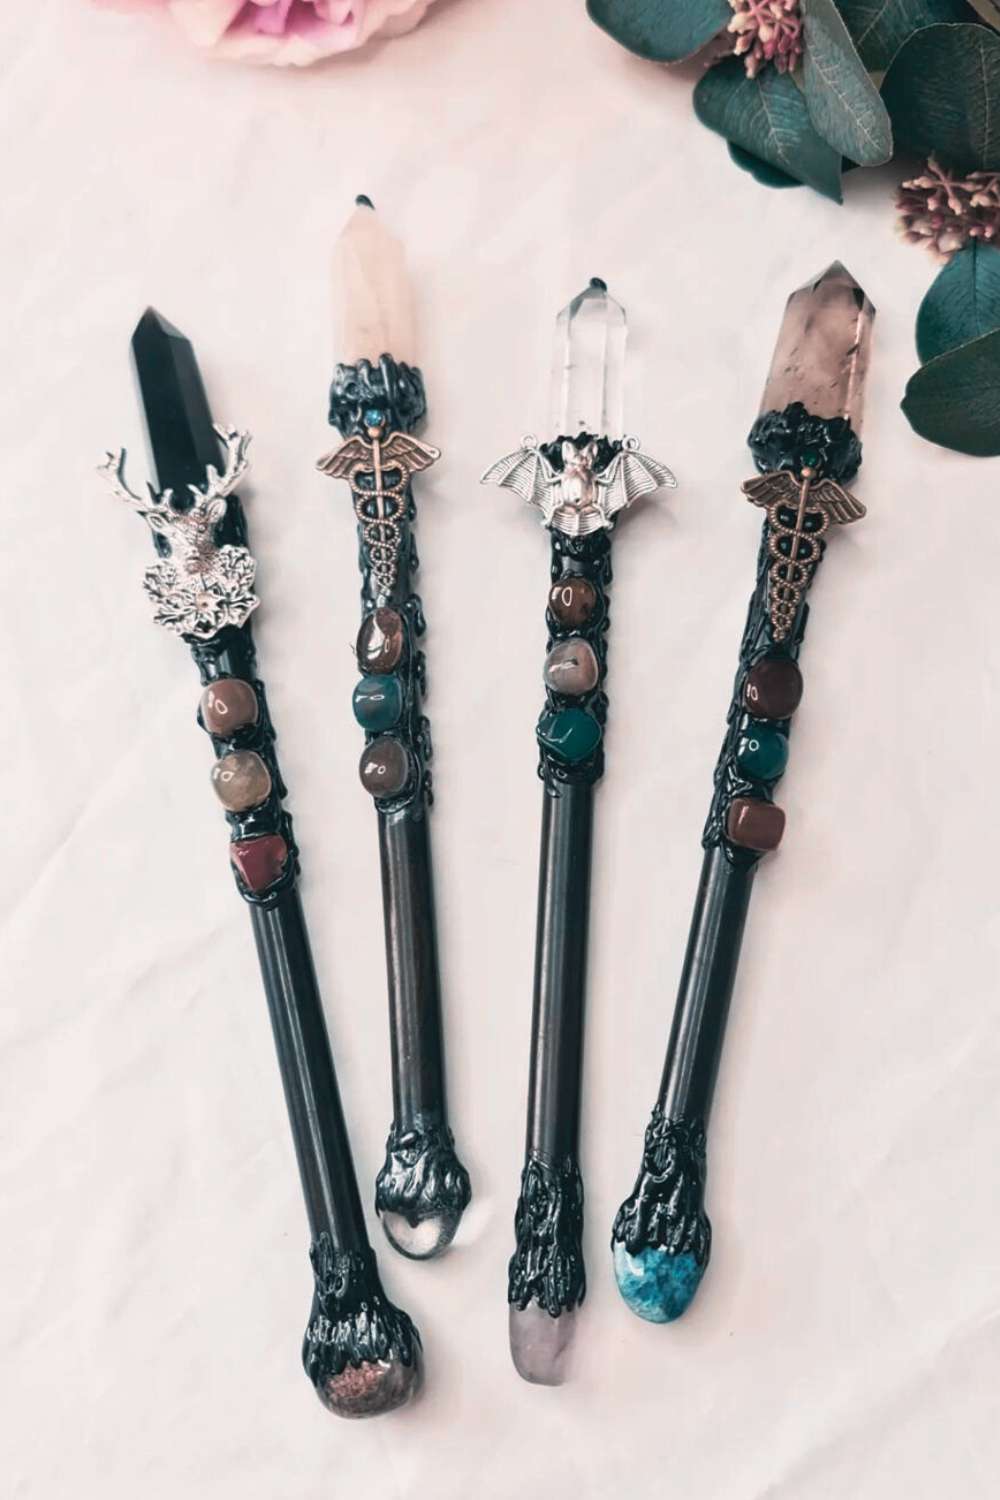
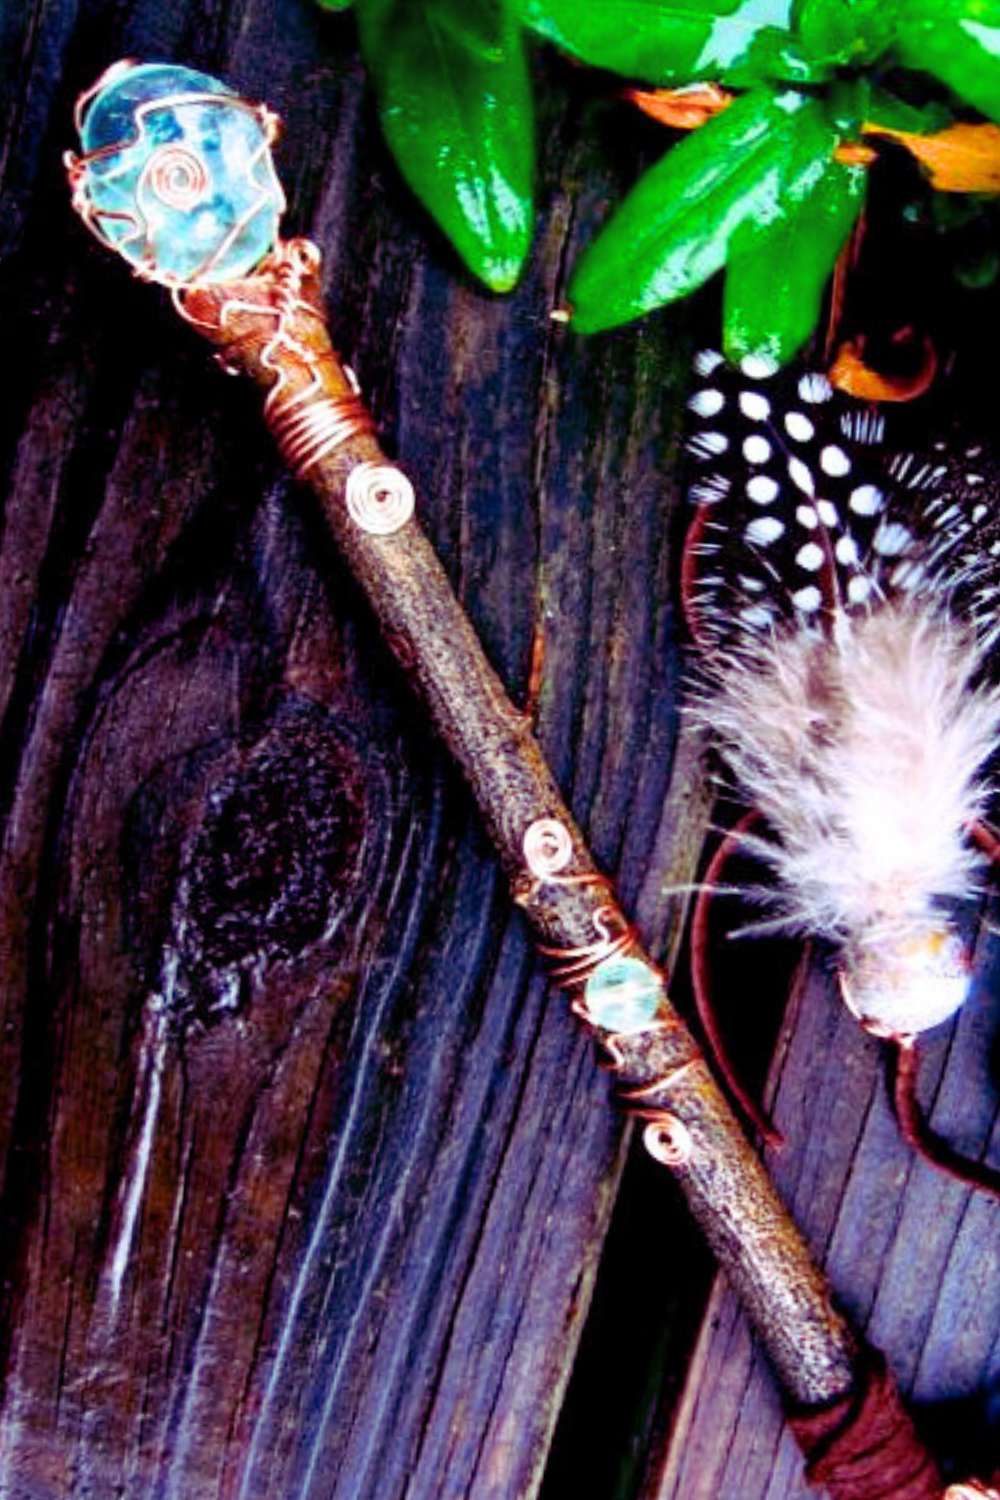
6. Crystal wand
Creating a crystal wand is a beautiful and powerful craft that can be used for energy work, ritual, and spellcasting.
Crystal wands are often used to direct and focus energy, amplify intentions, and connect with the natural energies of the earth. Making your own crystal wand allows you to choose the specific crystals and materials that resonate with your intentions and energy.
Here’s how to create a crystal wand:
1. Choose your crystal: Select a crystal that resonates with your intention and energy. Common choices include clear quartz for amplification, amethyst for spiritual connection, or rose quartz for love and healing.
2. Select a wand base: Choose a wooden dowel or stick to serve as the handle of your wand. You can also decorate the handle with wire wrapping, leather, or other decorative elements.
3. Cleanse and charge the crystal: Before assembling your wand, cleanse the crystal with water, smoke, or sunlight, and charge it with your intention for healing, protection, or manifestation.
4. Attach the crystal to the wand: Using a strong adhesive or wire wrapping, securely attach the crystal to the top of the wand handle, ensuring that it is firmly in place.
5. Decorate the wand: Add decorative elements such as feathers, ribbons, or additional crystals to enhance the wand’s energy and symbolism.
6. Consecrate the wand: Hold the completed wand in your hands, focus on your intention, and visualize the energy flowing through the wand. You can also perform a simple ritual to consecrate the wand with your intention and energy.
7. Use the wand in your practice: Once your crystal wand is ready, you can use it in energy work, ritual, meditation, or spellcasting to direct and focus energy, amplify intentions, and connect with the energies of the crystals.
Display your wand in a special place when not in use, to honour its power as a magical tool.
7. Pendulum
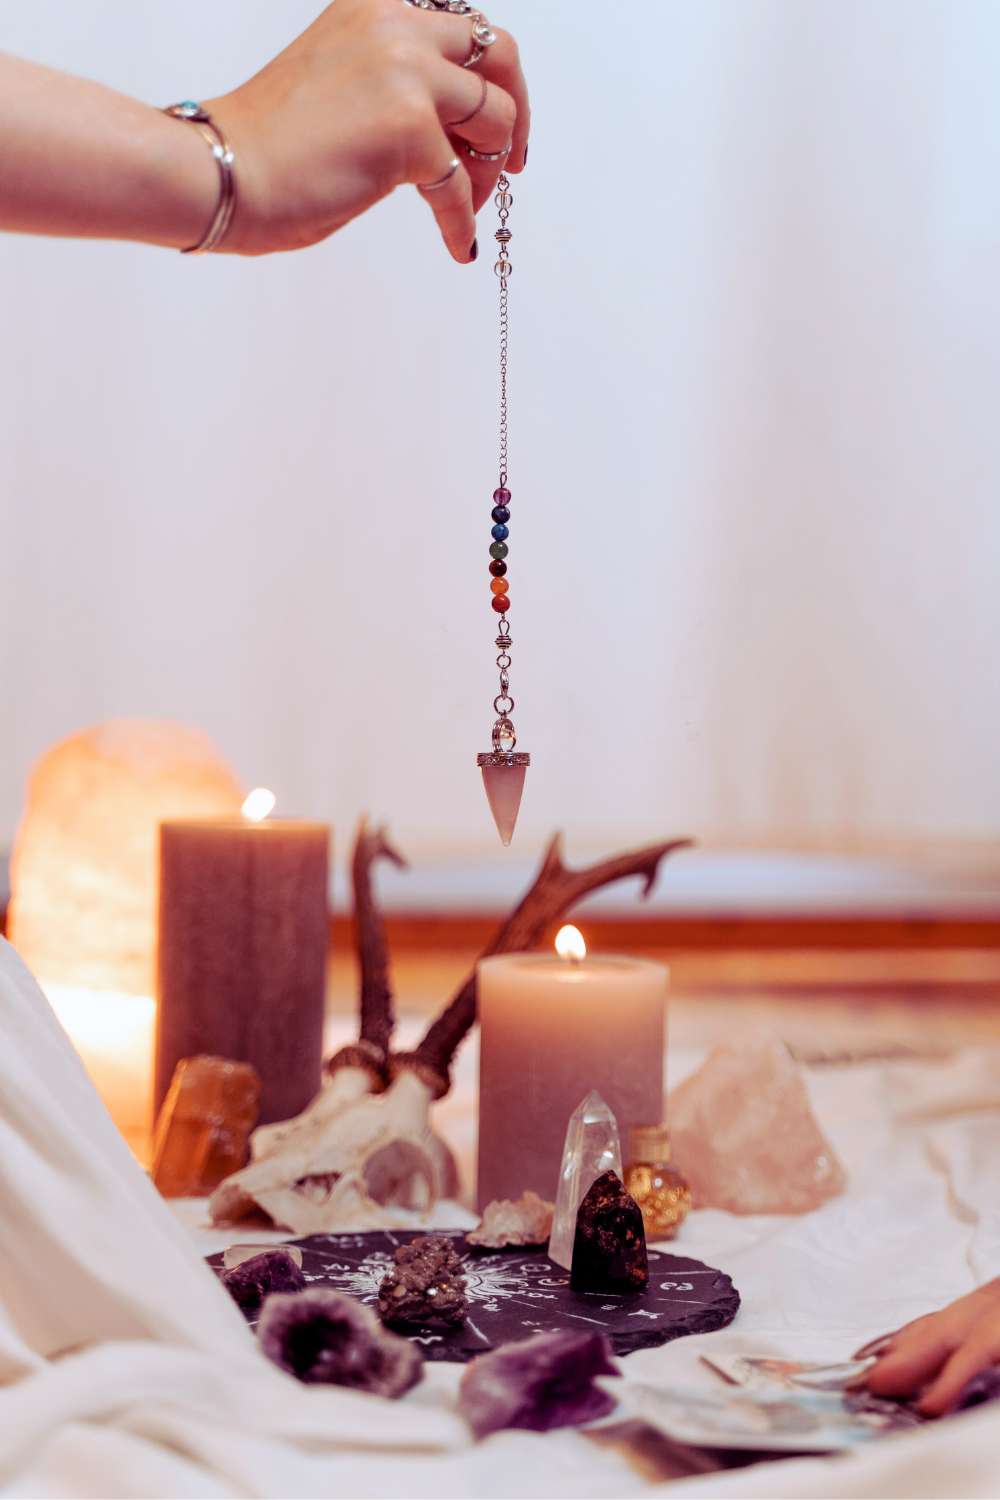
A pendulum is a weighted object suspended from a cord or chain, and it is often used to receive guidance, answers to questions, and to connect with one’s intuition. Making your own pendulum allows you to infuse it with your energy and intention, making it a personalized tool for divination and spiritual practice.
Here are the steps to creating your own pendulum:
1. Choose your pendulum: Select a crystal, stone, or other weighted object that resonates with you and your energy. Common choices include clear quartz, amethyst, or a metal weight.
2. Prepare the cord or chain: Attach the chosen weighted object to a cord or chain, ensuring it is securely fastened. You can also decorate the chain with beads or charms if desired.
3. Cleanse and charge the pendulum: Before using your pendulum, cleanse it with water, smoke, or sunlight, and charge it with your intention for divination, guidance, or clarity.
4. Consecrate the pendulum: Hold the pendulum in your hands, focus on your intention, and visualize the energy flowing through it. You can also perform a simple ritual to consecrate the pendulum with your intention and energy.
5. Program the pendulum: Sit quietly with your pendulum and ask it to show you a “yes” and “no” response. This helps to establish a communication system between you and the pendulum.
6. Use the pendulum for divination: Once your pendulum is ready, you can use it to ask questions, receive guidance, and connect with your intuition. Hold the pendulum steady and ask it to show you a response to your question, interpreting the movements as answers.
Keep your pendulum in a special pouch or container when not in use to protect and preserve its energy.
8. Smudge sticks
Smudging is a sacred practice for spiritual cleansing, purification, and energy clearing in many different traditions.
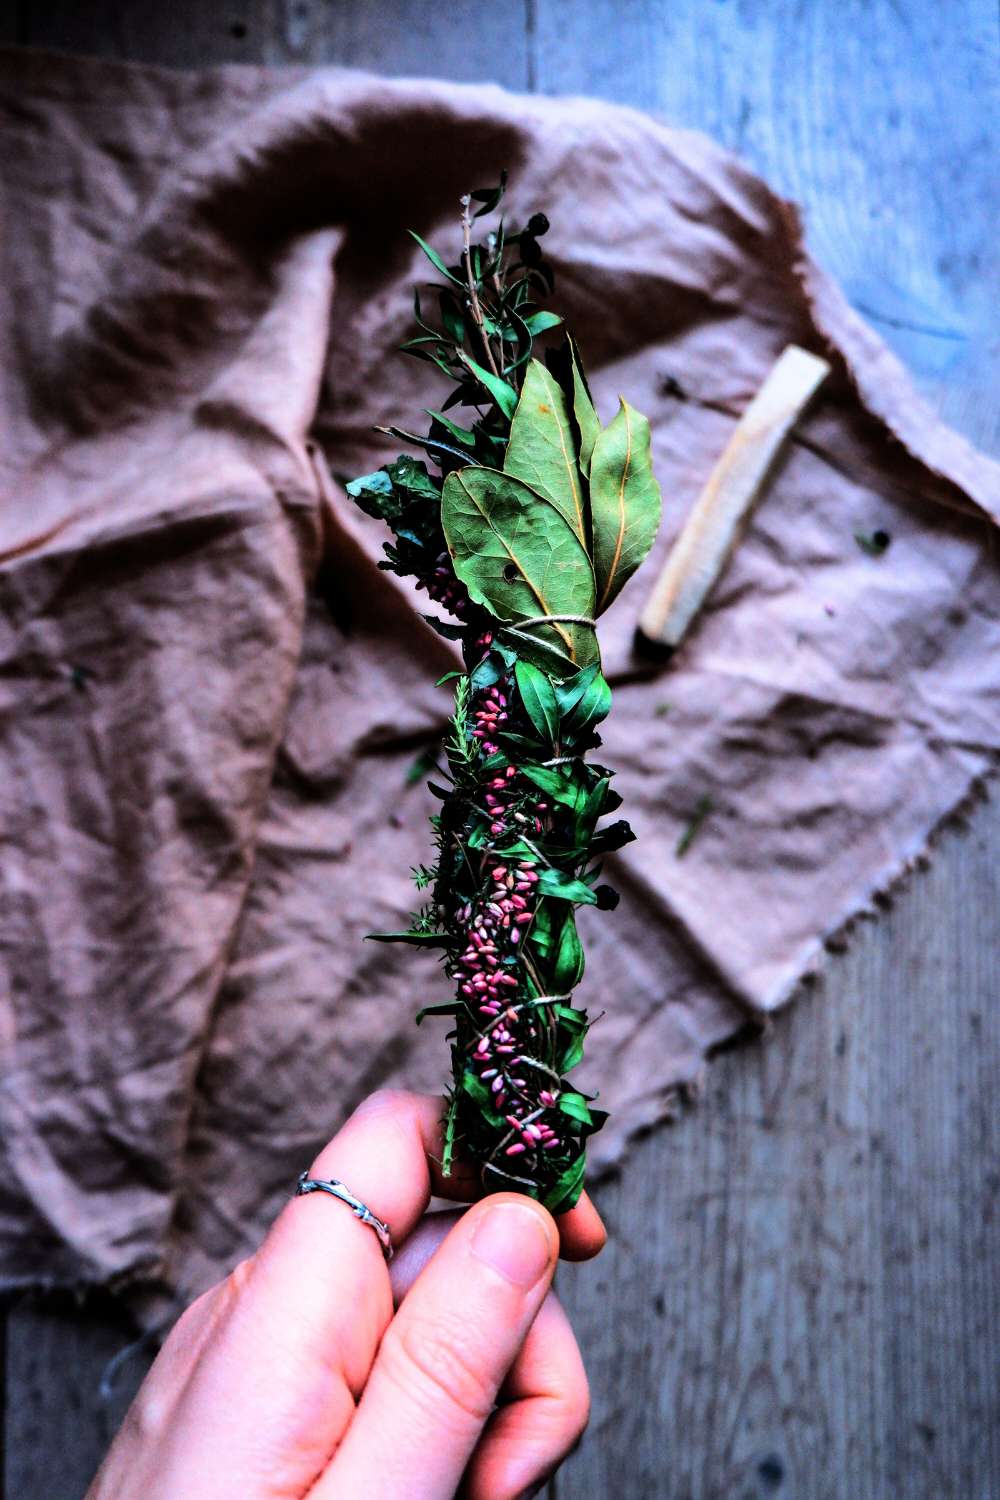
Smudge sticks are typically made from herbs and plants, such as sage, cedar, or lavender, and are often used in rituals, ceremonies, and personal spiritual practices to clear negative energy and promote positivity. Making your own smudge (or saining bundles) is a great way to prevent the overharvesting of sacred plants.
To create your own smudge sticks, follow these simple steps:
1. Gather your materials: Collect a bundle of locally grown herbs, such as sage, cedar, lavender, or rosemary, and a length of cotton string or twine.
2. Bundle the herbs: Bundle the herbs together in a compact and even shape, ensuring that the stems are aligned at one end.
3. Bind the herbs: Using the cotton string or twine, tightly bind the bundle of herbs at the base of the stems, securing them in place. Carefully wrap the string or twine around the bundle, spiralling it upwards towards the tip of the herbs, ensuring your bundle is tightly secured.
4. Trim the ends: Once the bundle is fully wrapped, tie off the string and trim any excess, ensuring that the smudge stick is neat and secure.
5. Dry the smudge stick: Hang the smudge stick in a dry and well-ventilated area for a few weeks until it is fully dried and ready for use.
6. Consecrate the smudge stick: Before using your smudge stick, consecrate it with your intention for purification and protection.
8. Use the smudge stick for cleansing: Once your smudge stick is ready, you can light it and allow the smoke to cleanse and purify your space, objects, or yourself. Use a heatproof container to catch any falling ash and ensure the smudge stick is fully extinguished after use.
Store your smudge sticks in a dry and cool place to preserve their potency.
9. Dream pillows
Creating little dream pillows (also known as mojo bags or sachets) is a magical practice used to manifest intentions, protect against negative energies, and enhance dream work. These small, charm-filled bags are often filled with herbs, crystals, and other symbolic items to promote specific energies and intentions during sleep and dream states.
To create your own dream pillow, follow these simple steps:
1. Gather your materials: Select a small fabric pouch or bag in a colour that corresponds to your intention. Gather herbs, crystals, charms, or other symbolic items that align with your desired energy.
2. Set your intention: Decide on the purpose of your dream pillow, whether it’s for enhancing dream recall, promoting peaceful sleep, or manifesting specific dreams and desires.
3. Fill the bag: Place the chosen herbs, crystals, and symbolic items into the fabric pouch, focusing on your intention and visualizing the desired outcome as you do so.
4. Seal the bag: Once the bag is filled, securely close it with a knot or by tying the fabric together, sealing the energy and intention of the dream bag.
5. Charge the pillow: Hold the completed dream pillow in your hands, focus on your intention, and visualize the manifestation of your desires. You can also perform a simple ritual to charge the bag with your energy and intention.
6. Place the dream pillow under your main sleeping pillow or near your bed: Keep your dream pillow in a safe and sacred place, such as under your pillow or on your nightstand, to harness its magical energy and manifest your intentions during sleep and dream states.
Refresh the contents of the pillow periodically to maintain its potency.
10. Protection charm
Creating a protection charm is a powerful and symbolic practice used to ward off negative energies, promote safety, and provide a sense of security.
Protection charms can be made from a variety of materials, such as crystals, herbs, and symbolic objects, and are often carried or displayed in the home to create a protective energy field.
To create your own protection charm, follow these steps:
1. Choose your materials: Select a small pouch or container to serve as the base of your charm. Gather protective items such as black tourmaline, obsidian, or hematite crystals, as well as herbs like rosemary, sage, or bay leaves.
2. Set your intention: Decide on the purpose of your protection charm, whether it’s for personal safety, warding off negative energy, or creating a shield of protection around your home.
3. Fill the charm: Place the chosen crystals, herbs, and symbolic items into the pouch. If you have another container you could tie, glue or wrap your objects to fix them. Focus on your intention and visualise a protective energy surrounding the charm.
4. Seal the charm: Once the pouch is filled, securely close it with a knot or by tying the fabric together, sealing the energy and intention of the protection charm.
5. Charge the charm: Hold the completed protection charm in your hands, focus on your intention, and visualize a shield of protective energy emanating from the charm. You can also perform a simple ritual to charge the charm with your energy and intention.
6. Carry or display the charm: Keep your protection charm with you, such as in a pocket or purse, or display it in a prominent place in your home to harness its protective energy.
Refresh the contents of the charm periodically to maintain its potency.
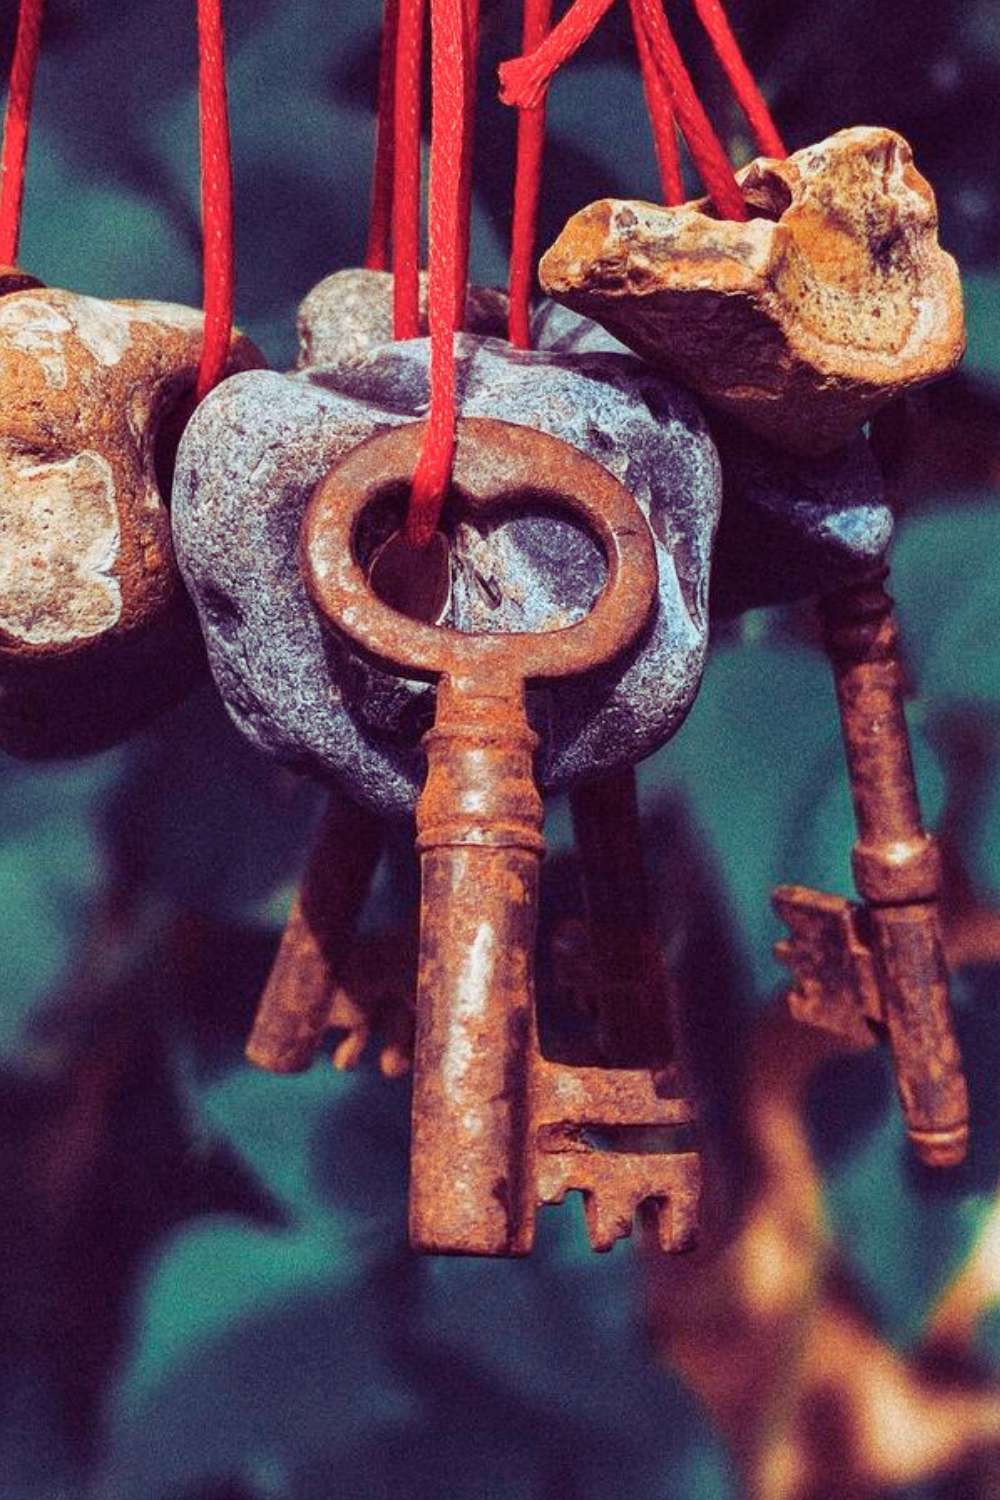
Hag stone protection charm by @the_librarian_witch
Creating and using magical tools and crafts is a deeply personal and meaningful practice.
Feel free to adapt these simple instructions to suit your own practice, and as always, trust your own intuition first!
It’s really important to infuse these tools with intention, cleansing, charging, and using them with respect and reverence.
These simple rituals will help you to consicously harness their magical energy to enhance your own spiritual practice and manifest positive change in your life.
Whether you use them individually or in combination, these tools can serve as potent instruments for personal growth, healing, and transformation.
What begins as a simple craft can ultimately remind us of the power we hold within and the magic that surrounds us, all the time!
Wishing you a blessed summer of witchy crafting 🌞
Liked this? Then you may be interested in…
-
12 Stunning Summer Solstice Crafts to Celebrate the Longest Day!
-
20 Summer Crafts to Sell – Witchy Handmade Items to Make You Money!
-
10 Quick & Easy 10-Minute Summer Craft Ideas for Busy Witches!
- 15 Witchy Crafts to Make in April: DIY Decor, Spells + Craft Circle Ideas
- 20 Magickal March Witch Tips and Activities for Balance and Renewal
- List of 20 Must-Have Witch Tools Your Magickal Practice Needs!
- 10 Best Witchy Crafts for a Summer of Magic


